Grand opening special code GLAM for 30% off
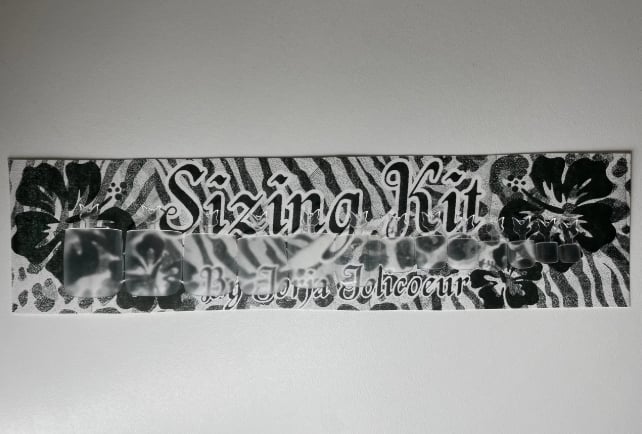
Sizing Kit Instructions for toes
Choose the nails that fit your toes best.
1. Find your best fit
Your kit includes multiple sizes. Choose the nail that:
Fits side‑to‑side with no skin showing
Sits flat with no lifting
Doesn’t pinch
Feels comfortable
Matches your natural nail length
If the nail is too long, you can file it, but this may shorten the design.
2. Check the length
Toe tips come in standard lengths.
File the free edge of your nail set if the nail is longer than your natural nail
Filing may remove some nail art
Some people can size down 1–2 sizes to keep more nail art, depending on their nail shape.
3. Record your sizes
Each nail has a number on the back. Write down the size for each toe, both feet may be different.
Example: Left foot: 3, 5, 6, 7, 9
4. Send your sizes
Send me your list of sizes through email jorjaajolicoeur@gmail.com or any of my socials for each toe so I can create your custom set.
Extra Tips
Width decides the fit
Length can be filed
Sizing down may keep more design
Both feet may need different sizes
Nails should never feel tight
Jorja Jolicoeur
Contact
Newsletter
705-957-9683
© 2026. All rights reserved.
About